Home »


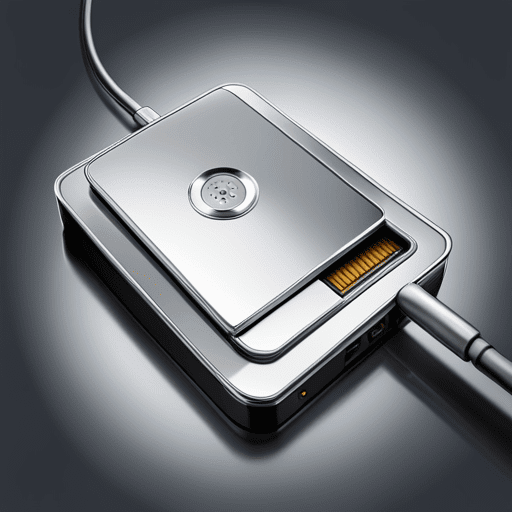

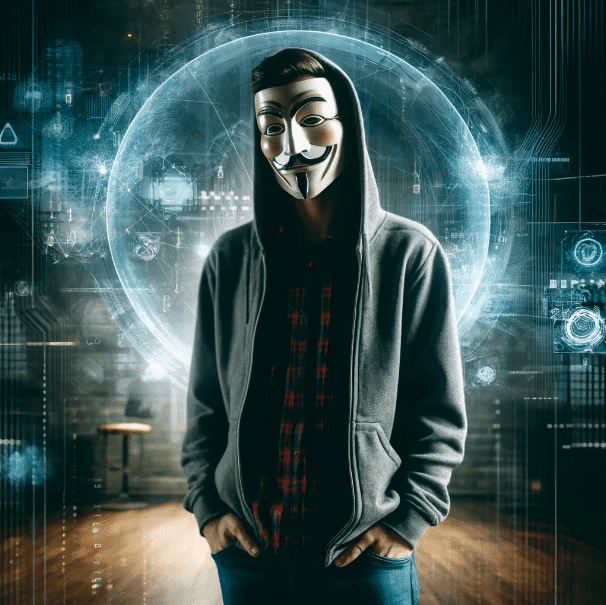


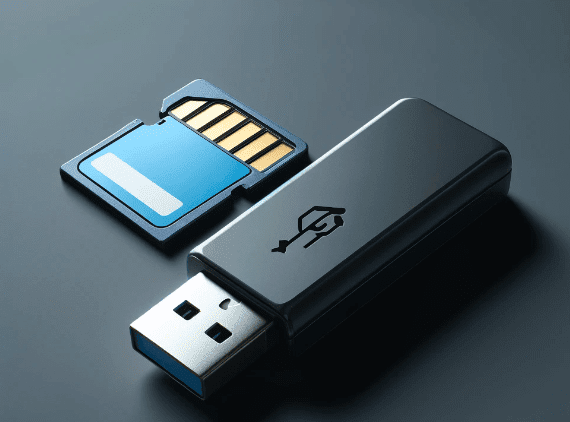

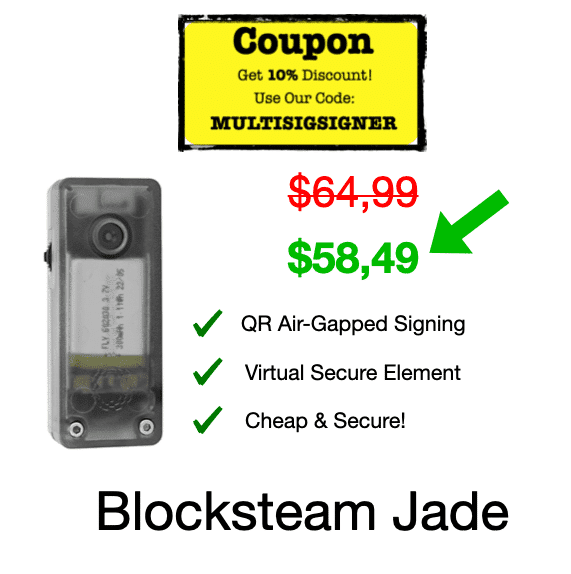
You think advanced hardware wallets are always expensive? They’re not! The Blockstream Jade will protect you against hackers by using air-gapped signing. It will protect you against physical attacks with the innovative virtual secure element. Other devices with similar features cost you much more.
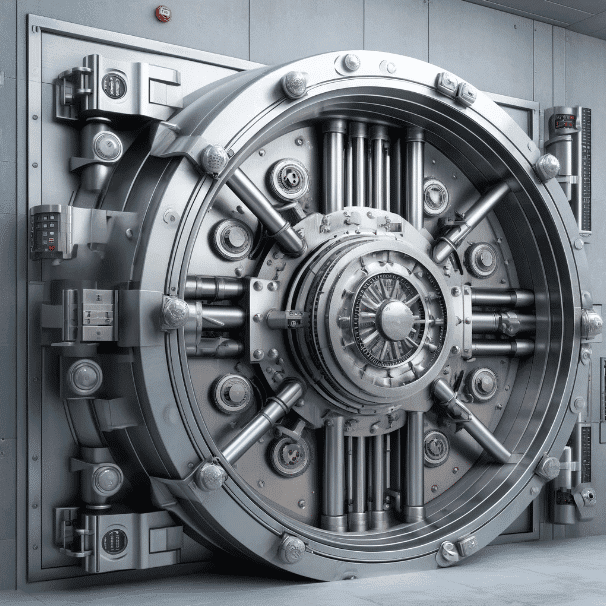
Worries about your bitcoins won't keep you up at night again. You know that your bitcoins are safe and controlled by only you. You secure them like a pro. Using a reputable device with advanced features, without having to spend much of your hard earned money.
With our code MULTISIGSIGNER you will get 10% discount, bringing the price to only $58,49. In bull markets hardware wallets often run out of stock. Get one now!